The Ultimate Guide to Upgrading Your Laptop's Graphics Card
Boost your laptop's performance with our expert guide on graphics card upgrades. Find compatible GPUs & step-by-step instructions here!
Unleash the True Potential of Your Laptop with a Graphics Upgrade!
Are you looking to breathe new life into your laptop gaming experience or power through graphics-intensive tasks? Upgrading your laptop's graphics card (GPU) can be the game-changer you need! While not all laptops offer the luxury of upgradable GPUs, for those that do, this guide will walk you through the exhilarating journey of boosting your laptop's visual prowess.
Understanding the Upgradability of Your Laptop
Before you dive into the world of GPUs, it's crucial to understand that not all laptops are created equal when it comes to upgradability. Many modern laptops have GPUs soldered onto the motherboard, making upgrades impossible. However, some high-end gaming and mobile workstation laptops come with MXM (Mobile PCI Express Module) slots that allow for GPU upgrades. Always check your laptop's specifications or consult with the manufacturer to determine if your GPU can be upgraded.
Choosing the Right Graphics Card
Once you've confirmed that your laptop is capable of a GPU upgrade, the next step is selecting the right card. Factors to consider include the physical size of the card, power consumption, compatibility with your laptop's cooling system, and of course, performance. Researching and comparing GPUs that match your laptop's requirements is essential. Remember, the most powerful GPU won't do you any good if it overheats your system or doesn't fit!
Tools and Preparation
Upgrading your laptop's GPU is a delicate process that requires the right tools and a steady hand. You'll typically need a set of precision screwdrivers, anti-static wrist straps, thermal paste, and possibly some thermal pads. Ensure you have a clean, static-free workspace and take the time to ground yourself to avoid damaging sensitive components with static electricity.
The Upgrade Process
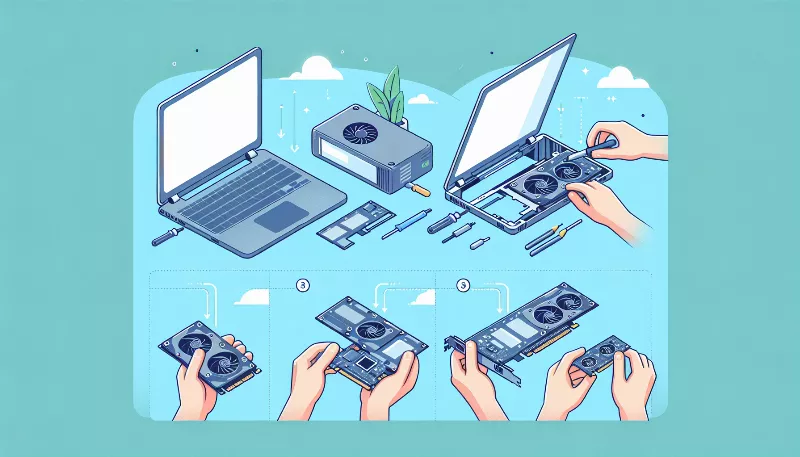
With your tools at the ready, it's time to start the upgrade! Begin by carefully disassembling your laptop to access the GPU. This usually involves removing the bottom panel and possibly the keyboard and other components. Once you've reached the GPU, gently remove it from the MXM slot, taking care not to damage any surrounding components.
Next, prepare your new GPU by applying thermal paste to the chip and attaching any necessary thermal pads. Carefully insert the new GPU into the MXM slot and reassemble your laptop. It's a good idea to clean out any dust and ensure all cooling systems are in good working order before closing everything up.
Software and Drivers
Hardware is only half the battle; software plays a critical role too. After installing your new GPU, you'll need to boot up your laptop and install the latest drivers. These drivers ensure that your system communicates effectively with the new hardware and takes full advantage of its capabilities. Visit the GPU manufacturer's website to download and install the appropriate drivers for your model.
Testing and Troubleshooting
After your drivers are installed, it's time to test your upgraded laptop. Run various benchmarks and stress tests to ensure the GPU is performing as expected. Keep an eye on temperatures and system stability. If you encounter any issues, troubleshooting may involve reseating the GPU, checking your thermal paste application, or consulting online forums and the manufacturer's support for assistance.
Enjoy Your Enhanced Laptop Experience!
Congratulations! You've successfully upgraded your laptop's graphics card. Now, sit back and enjoy the enhanced graphics performance in your favorite games and applications. With your upgraded GPU, your laptop is now more powerful and future-proof, ready to tackle the latest digital challenges with ease!

